You may have noticed that there’s a few animations around the site on certain elements. So how are they done? Well, it’s really very simple actually!
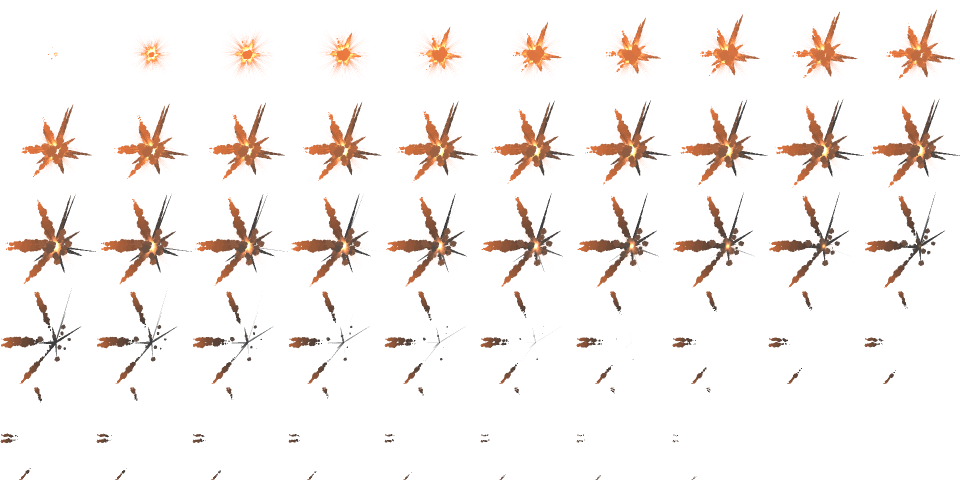
A 96px x 96px 48 frame sprite sheet exported from TimelineFX.
Of course you first need a sprite sheet to animate, so naturally I used TimelineFX to create some cool looking effects. You do need to think about the amount of bandwidth the sprite sheet will take up – even though they’re compressed PNG files, a 32 frame, 128 x 128 animation can easily end up being 500KB-1MB in size. At least in the the majority of cases they will be cached on in a users browser so just downloaded the once. Of course there’s page loading time to be considered as well, but with broadband speeds becoming a lot faster this is less of an issue these days, but still worth bearing in mind if you plan on using a lot on one page.
So lets take this toon explosion (inset) as an example. This effect is available in the explosions library and free to download from this site. There’s a fair few frames but it weighs in at only 199KB , so it’s an ideal size.
Next you need a bit of jQuery to animate it. I did a quick Google to see if there were any existing libraries out there that could animate sprites and of course there was! This one called jQuery.animateSprite was ideal, but you might also want to look at spritely.net which also looked pretty cool. AnimateSprite was enough for my needs and nice and compact too so I went with it.
So how does it work?
All it does is change the background position x and y coordinates periodically depending on the current frame, this is enough to animate the effect. So in order to set things up you need to prepare a bit of CSS. I used a DIV to contain the sprite, here’s the CSS:
.sprite {width:96px;height:96px;position:relative;margin:15px;}
.toon {background: url(../img/sprites/toon.png) no-repeat;}
So all I’ve done is create a base class called sprite with the basic CSS elements I need, most importantly being the width and height which need to be fixed. Then I’ve created a second class specific to the sprite I’m using so I can combine the elements in HTML like so:
<div class="sprite toon"></div>
You can adjust the CSS as necessary to fit within your site. So you can create as many other sprite CSS elements as you want for each sprite and override the base class if you need to should the frame size be different. Here’s some more I used on this site:
.frost {background: url(../img/sprites/frosthalo.png) no-repeat;}
.explosion {background: url(../img/sprites/explosion.png) no-repeat;}
.magicfire {background: url(../img/sprites/magicfire.png) no-repeat center; width: 64px;margin-left:16px;}
.flames {background: url(../img/sprites/flames.png) no-repeat;}
.flickerflare {background: url(../img/sprites/flickerflare.png) no-repeat;}
.electric {background: url(../img/sprites/electric.png) no-repeat;}
Examples of these being used can be seen here.
With the CSS work done we can go ahead and use the jQuery.animateSprite library. Bear in mind that you also need jQuery installed as well 🙂
All you need to do is select the CSS class that contains your sprite, set the duration (in milliseconds) of the animation and tell it how many columns are in the sprite sheet, like so:
$(".toon").animateSprite({
    columns: 10,
    totalFrames: 48,
    duration: 1600,
    loop: true
});
Easy! I calculated the duration with the following calculation: FramesPerSecond/1000*NumberOfFrames. I wanted it to run at 30 frames per second so 30/1000*48=1600.
You can also specify if you want the animation to loop. So you should end up with something that looks like this:
Incidentally if you decide to use spritely it’s somewhat simpler:
$('.toon').sprite({fps: 30, no_of_frames: 48});
So you don’t even have to work out the duration or specify the number of columns.
Have fun animating your sprites!