Alpha 35 is now released with a few new features that allows you to animate ribbons in 4 distinct ways to add more life to them so that they’re not so static.
Ribbon Noise
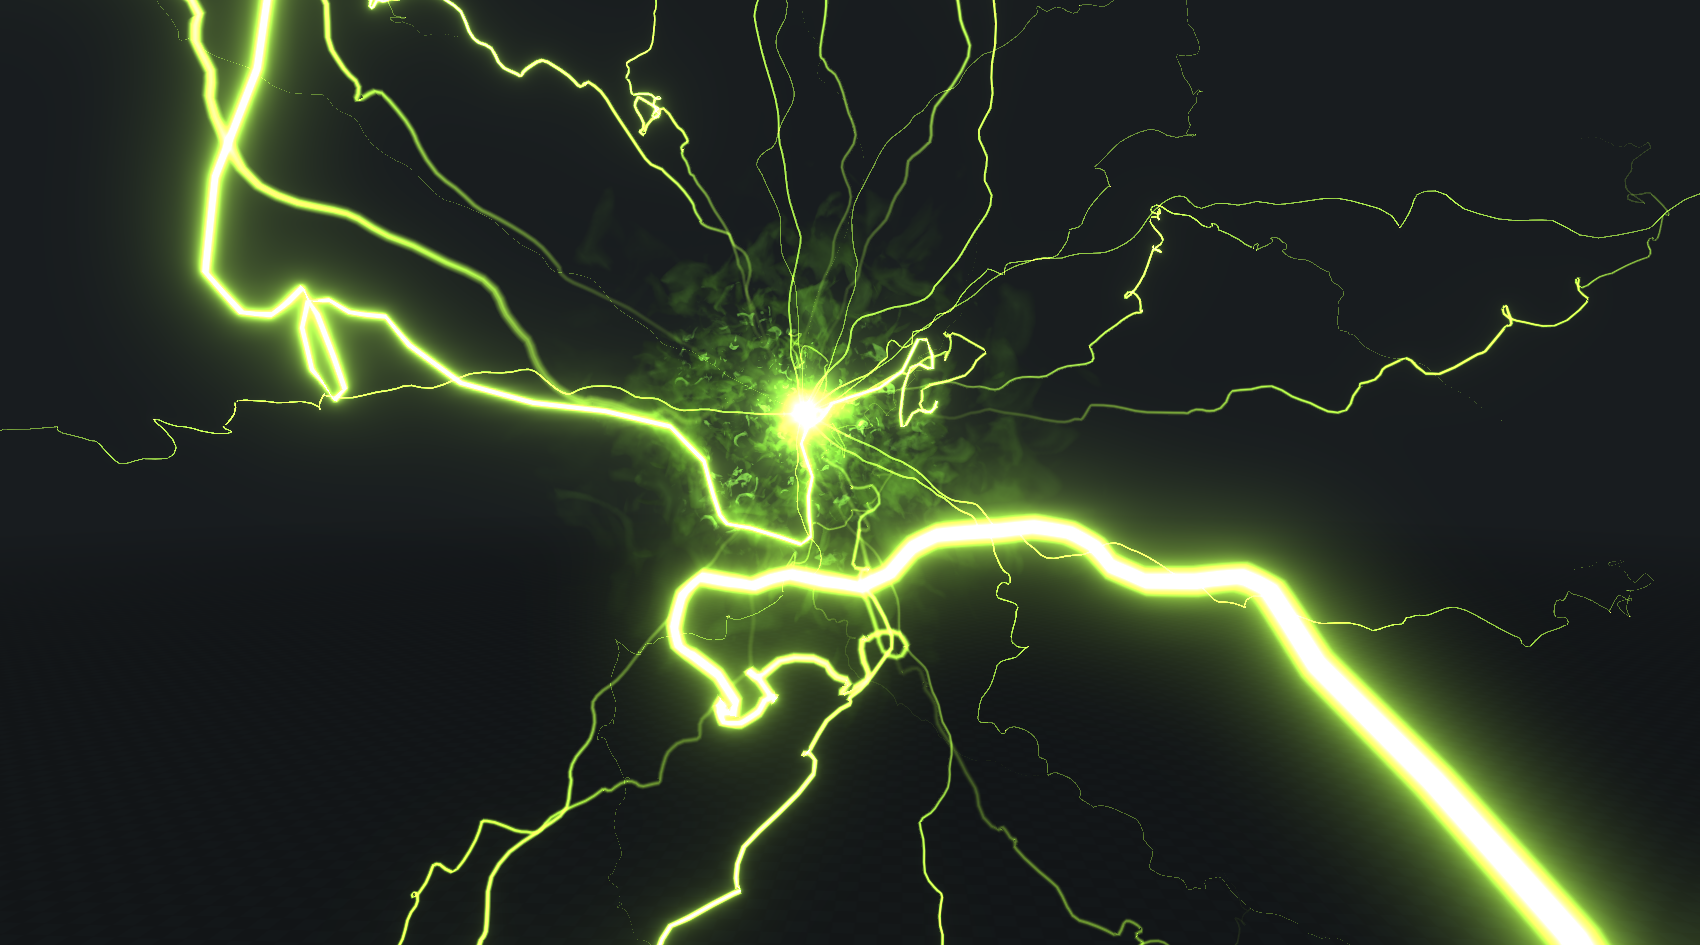
Under ribbon behaviour overtime is the option to enable noise which you can use to apply either simplex or value noise to ribbons overtime. There’s a few graphs and other settings you can use to get different looks:
- Noise Frequency: Higher numbers makes the ribbon crinkle up more to create more electric style arcs. Use lower numbers for more slow swaying ribbons.
- Noise Speed: How far the ribbon travels over the noise field over it’s lifetime. The higher the more erratic the effect becomes.
- Noise Phase Range: In order to make every ribbon that spawns look different you can use this setting to space out how each ribbon samples from the noise field. A value of 0 means that every ribbon will look the same (have the same looking noise).
- Noise Lock Rate: Use this setting to make the noise switch between static noise samples rather then evolve the noise overtime. Higher numbers snap the shape more often, a value of 0 make the noise sampling continuous.
- Noise Amount Overtime: Use this graph to determine how much noise the ribbon is subject to over it’s lifetime.
- Noise Scroll Overtime: You can use this graph to make the noise travel along the ribbon in a similar way that uv offset scrolls the texture. Use a ramp here to make it scroll, leave it flat to make the noise churn in place.
- Noise Envelope Overlength: Use this graph to scale the noise over the length of the ribbon. Very useful if you want the ends or one end of the ribbon to stay in place while the rest of the ribbon churns with noise – good for electrical arcs where you want the ends or at least one end to stay in place.
Clip Size and Offset
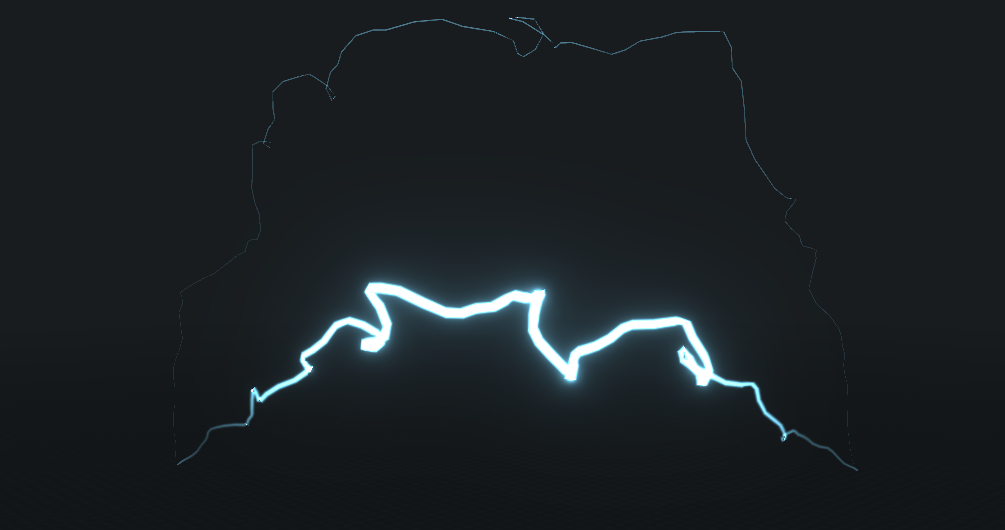
I have refactored the 2 graphs clip start and clip end and changed them to the much more intuitive and easy to use clip size and offset. So now if you want a section of the ribbon to travel along the length you can just set the size and then use the offset to do this easily. The uv scale offset will now take in to account the clip size, so if the clip size is 0.25 and the uv scale is 1, then the whole texture will cover the clip size so it’s a lot more easier to reason about.
Ribbon Morphing
Enable this feature under Path Settings so that you can edit a second path on the emitter that you can morph to and from. In the preview window you’ll see 2 path edit buttons labelled A and B which you can switch between to edit the 2 paths, then under Ribbon Behaviour Overtime there are 2 new graphs:
- Morph Amount Overtime: Use a ramp on this graph to make the ribbon morph from one path shape to the next.
- Morph Bias Overlength: Use this graph to make one end of the ribbon lead the morph and the other lag behind it.
Because of extra work done under the hood for ribbons the 2 paths can be of different lengths and the morphing will still work just fine.
Ribbon Lag
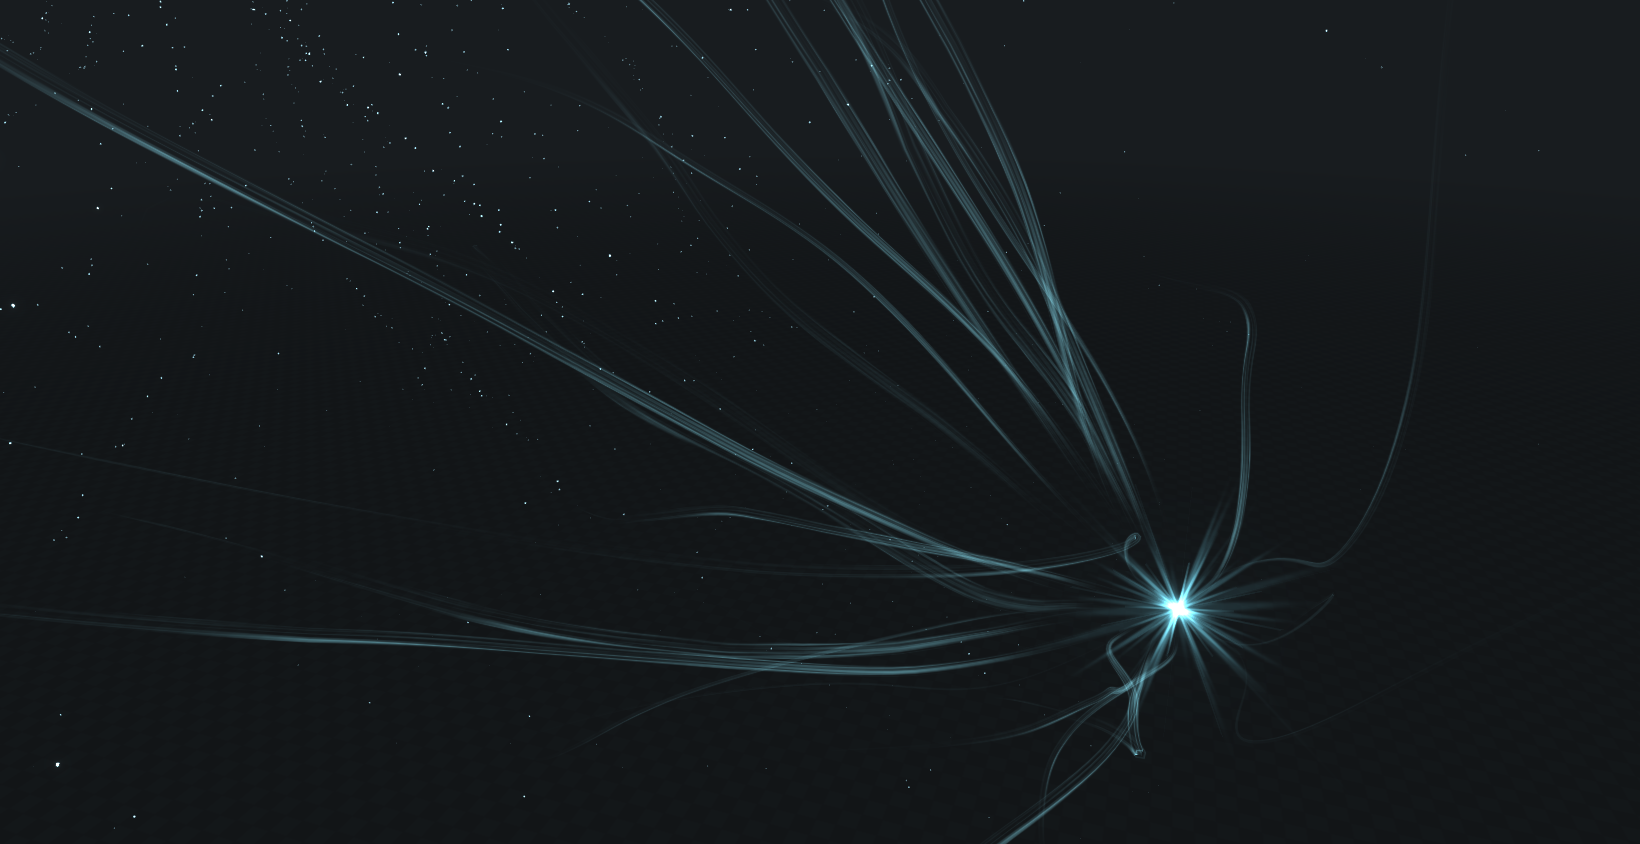
For ribbons that have Relative position enabled you can enable Ribbon Lag which when the ribbon emitter is moved the ribbon can more loosely follow the emitter position over it’s length creating more fluid movement. Under Ribbon Behaviour Overtime enable Ribbon Lag and tweak the following settings:
- Lag Time: The time in millisecs for the lag to happen over. So if the time is set to 500ms and the ramp on the Lag amount overtime graph goes from 0 to 1 then it will take 500ms for the ribbon to settle back to it’s path shape.
- Lag Amount Overtime: Use this graph to dictate how much the ribbon lags overtime. A flat graph of 0 means no lag, use a ramp of 0 to 1 to lag for the full lag time setting.
- Lag Profile Overlength: This graph distributes the lag along the length of the ribbon. A ramp of 0 to 1 means that the start of the path is locked to the emitter position and the further along the ribbon the more lag there will be.
The full list of changes in this release:
- Refactored the base noise offset and variation so they’re easier to use and just work better in general.
- Fixed bug where if path was reversed the nodes wouldn’t select properly.
- Bounding boxes are more tight around the effect now for sprite data baking.
- Added noise options for ribbons in the compute shader.
- Added lag feature for ribbons.
- Added ribbon morphing.
- Clip start and end refactored to more intuitive clip size and offset.
- Clip offset range changed to allow values below 0.
- Fixed a few issues with path editing.
- Fixed crash when using Add Ribbon from edit menu.
- Fixed crash when baking an effect with ribbons and then deleting the ribbon emitter and re-baking.
- Fixed effects with ribbons only not showing any sprite data after baking.
- Particle and Ribbon count on the status bar are now stable since updating the stage now runs in a separate thread.
- Particles that spin on all axis now properly interpolate in sprite data bakes.
- Dragfloats now hide the mouse pointer so that you can drag as much as you want without hitting the edge of the window.
- Effect loop marker now shows correctly on all the effect graphs.
- Added new preset ribbons.
- Reworked the preview trail mode so that the effect always stays in view.
- Removed the add ribbon menu item now that there’s more ribbon presets.
- Ribbon width is now properly scaled with Global overall scale
- Fixed the insight for curved alpha.